Settings
Once you enter your user name and password and click on Login, NelsoERP home page will be displayed. Before you proceed any further, you need to define your control settings first.
Click on the drop down beside your user name ( top right hand corner of the home screen) and click on Settings.

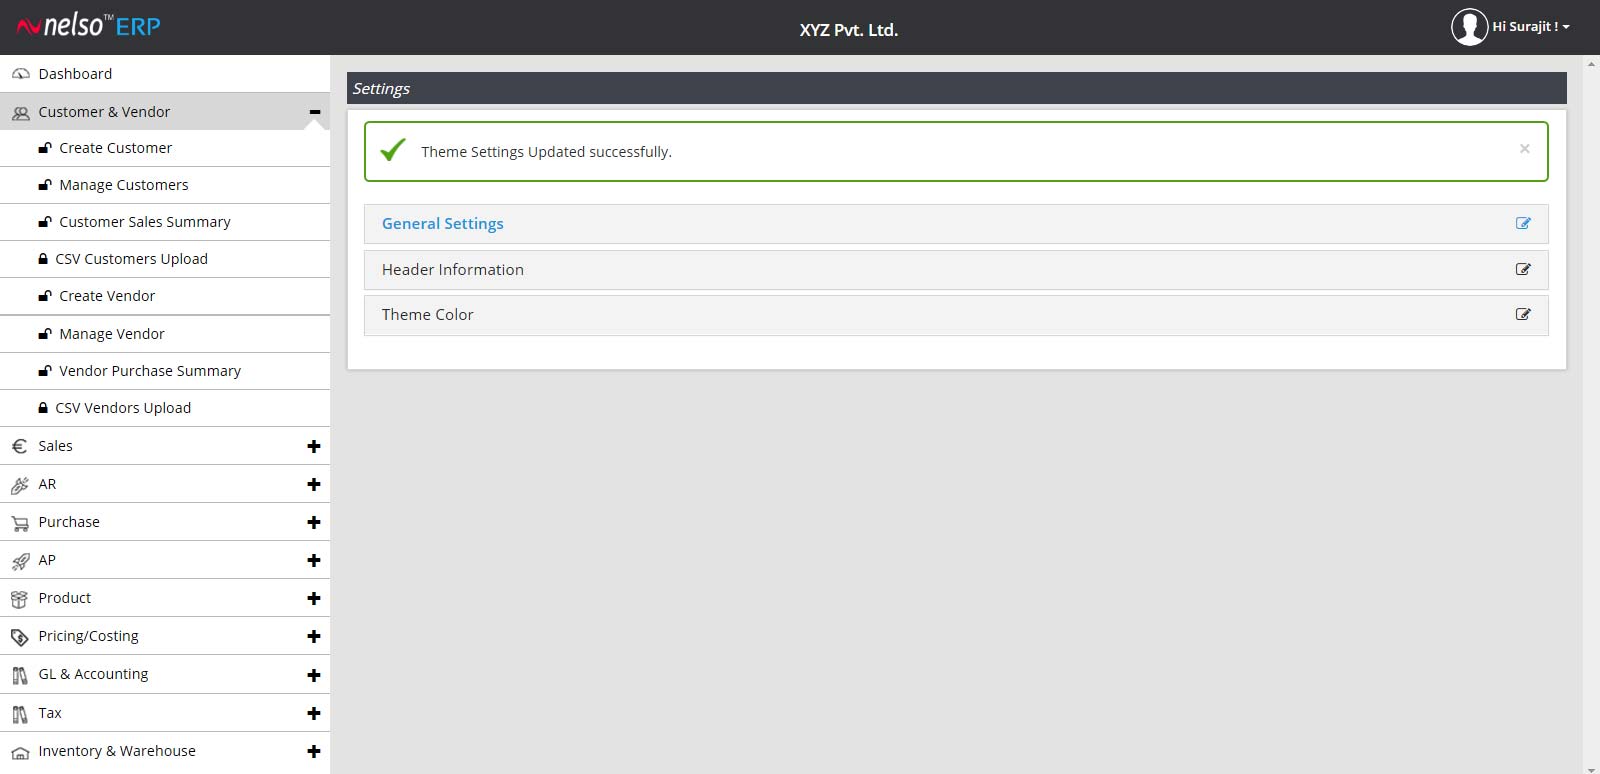
Once you click on Settings, following options will appear.

Click on either of them to start with.
General Settings :
Please enter the details and click on SUBMIT.

Company Name : Company name which you have entered in the registration form will appear here. If you want to edit the display name of your company, you can use this field.
Purchase Orders Prefix/Suffix: If you want to use any prefix before your system generated purchase orders, please mention that here. For an example you can mention P-, PO, Pur, P Order, Purchase etc. All your purchase order number will start with the prefix which you will mention in this field- (Like P-101, P-102, P-103) or ( Purchase101, Purchase102, Purchase103).
In case you do not want to use any prefix but want to use suffix then you can mention P or PO in Purchase Orders Suffix field, your purchase order number will be (101P, 102P, 103P) or ( 101PO, 102PO, 103PO).
Proforma Invoice Prefix/Suffix : This field is for all your open sales orders which you have created but did not ship the material yet and also did not process the final invoice to bill your customer. You can add Sales- and all system generated sales orders will start with Sales- ( Like Sales-101, Sales-102, Sales-103 ). If you use suffix as Sales, then sales orders will be 101Sales, 102Sales, 103Sales.
Invoice Prefix/Suffix : This prefix is for all tax invoices which you will be submitting to government for taxation and will also send your customer for payment. You can mention Invoice- ( Invoice-101, Invoice-102, Invoice-103 ). If you mention Invoice as suffix then system will generate invoice number as 101Invoice, 102Invoice, 103Invoice.
Timezone : Timezone which you have selected in registration form will appear here. For all Indian customers it will be Asia/Kolkata.
Upload Company Logo : If you want to add your company logo on your invoice and PO copy which you will be sending to your customers or vendors, please upload that here. Logo can be added in the application as well.
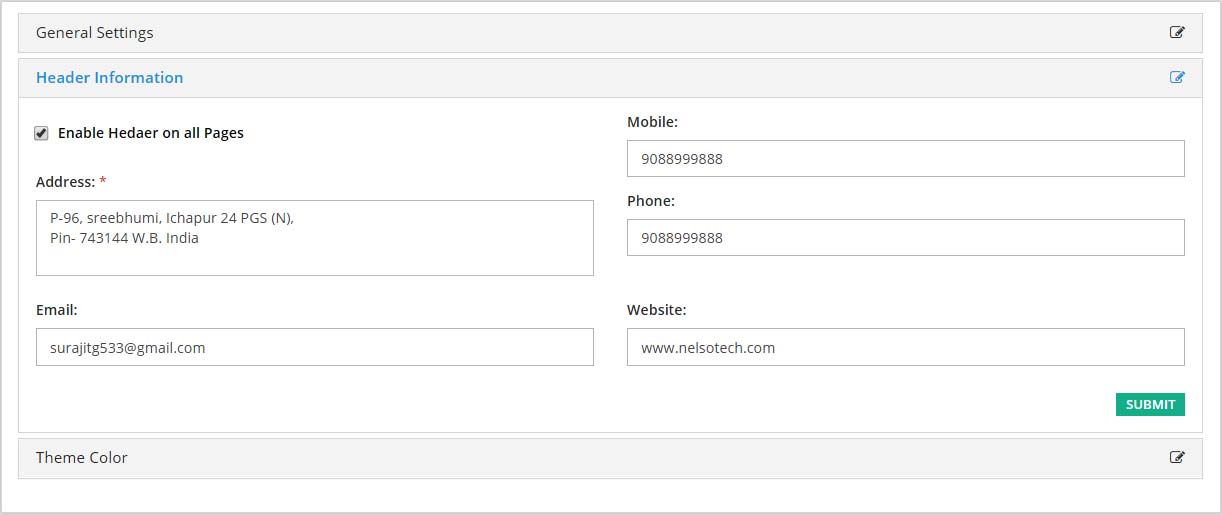
Header Information :

All the fields will auto populate the information which you have mentioned in the initial registration form. If you want to edit any information, this is the place to do that. These header information will be used as your contact information on tax invoice and purchase order print or email copy.
In case you want to see header information on all pages, please select the check box Enable Header on all Pages
Click on SUBMIT to save the settings.
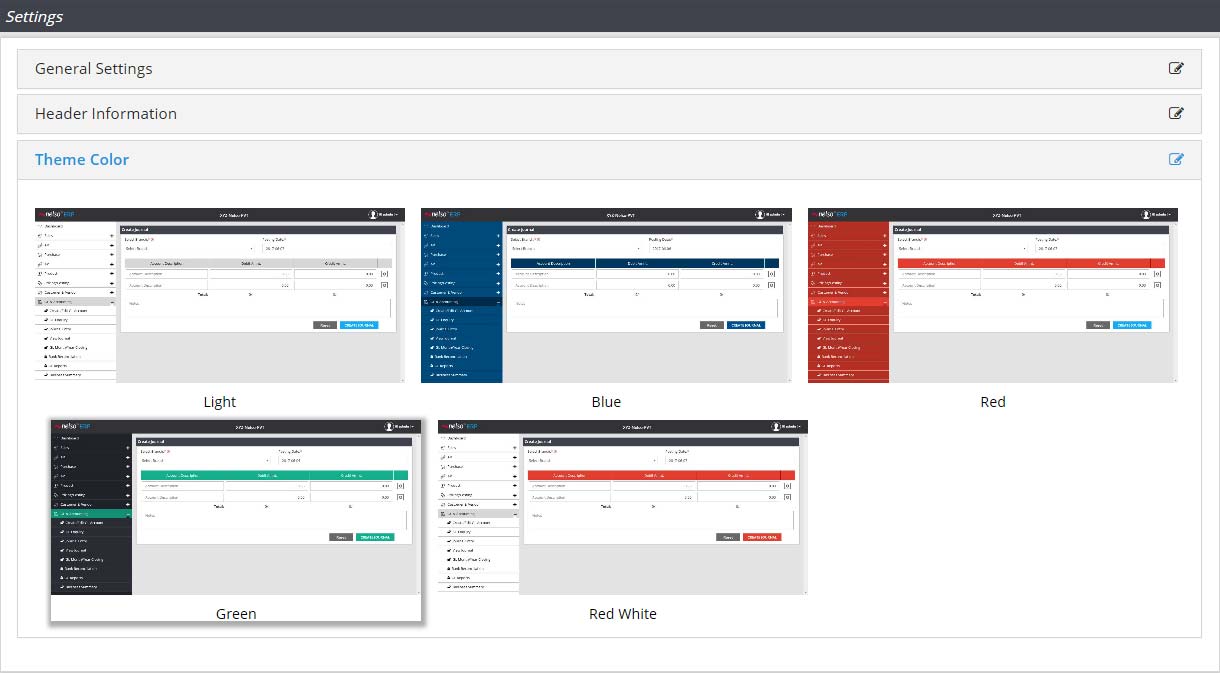
Theme Color :
Click on either of the theme to select the application front end display.


Related Links: